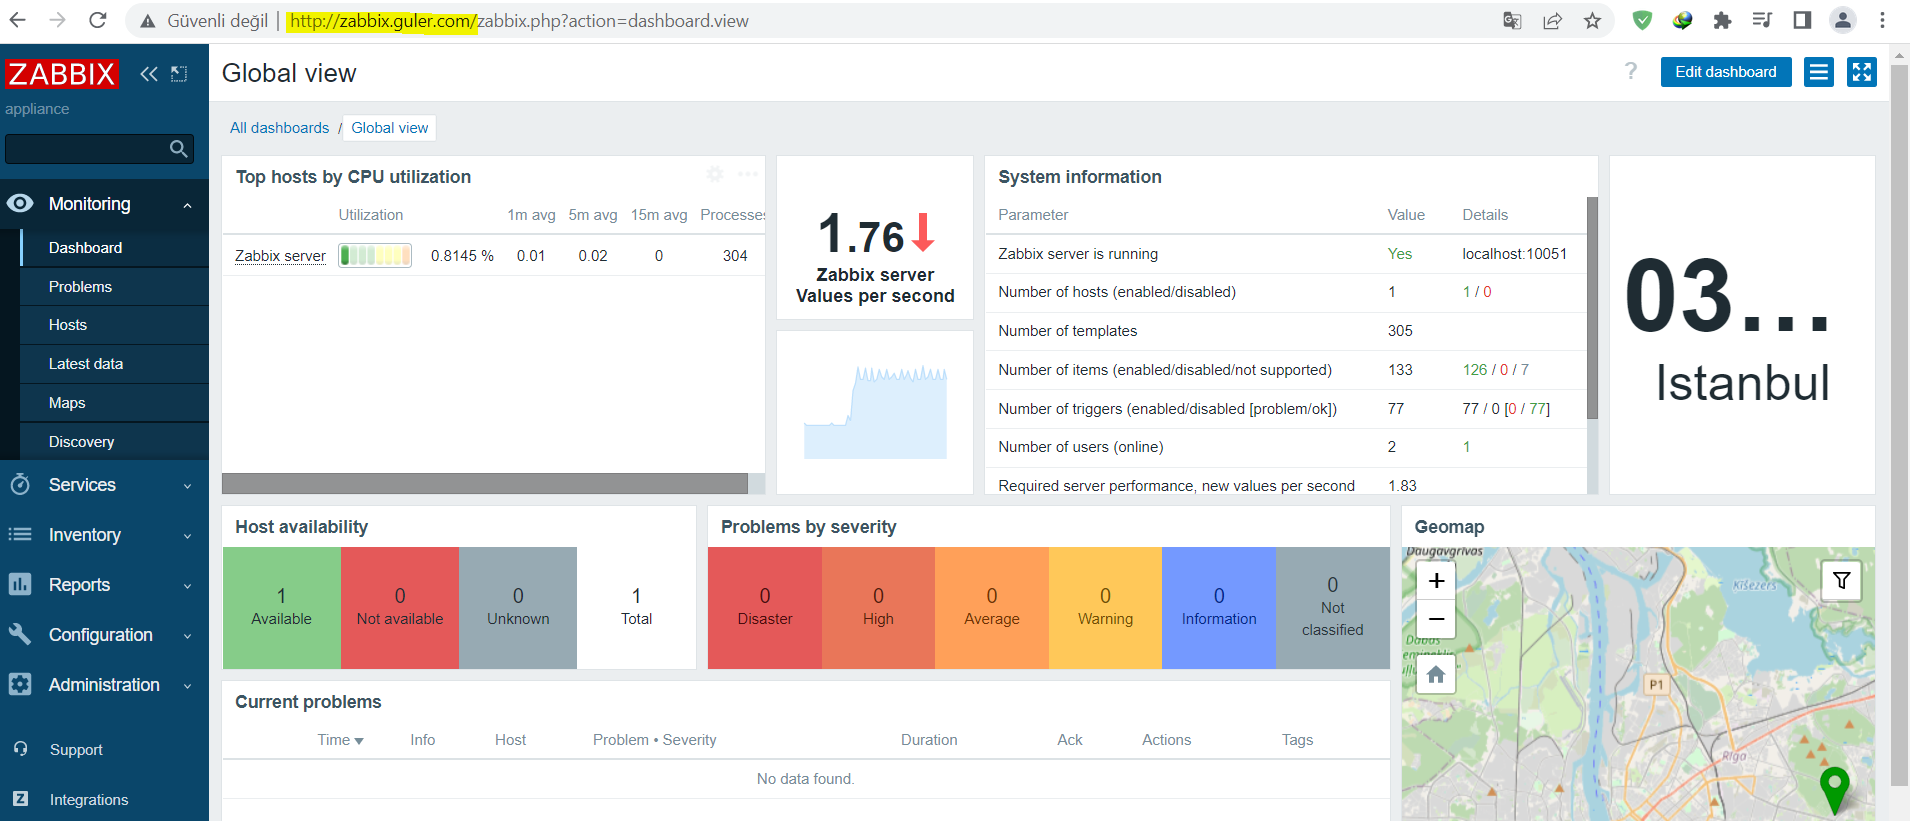
Zabbix v6.2.1 Installation and Monitoring Configuration For Centos 8 Appliance

Zabbix is an enterprise open source monitoring solution for networks and applications developed by Alexei Vladishev It is designed to monitor and monitor the status of various network services, servers and other network equipment.
Zabbix stores data using MySQL, PostgreSQL, SQLite, Oracle or IBM DB2 Its backend is written in C and its frontend is written in PHP. Zabbix offers several monitoring options:
Simple checks can verify the availability and responsiveness of standard services such as SMTP or HTTP without installing any additional software on the monitored host.
A Zabbix proxy can also be installed on UNIX and Windows hosts, saving CPU load, network usage, disk space, etc. can follow.
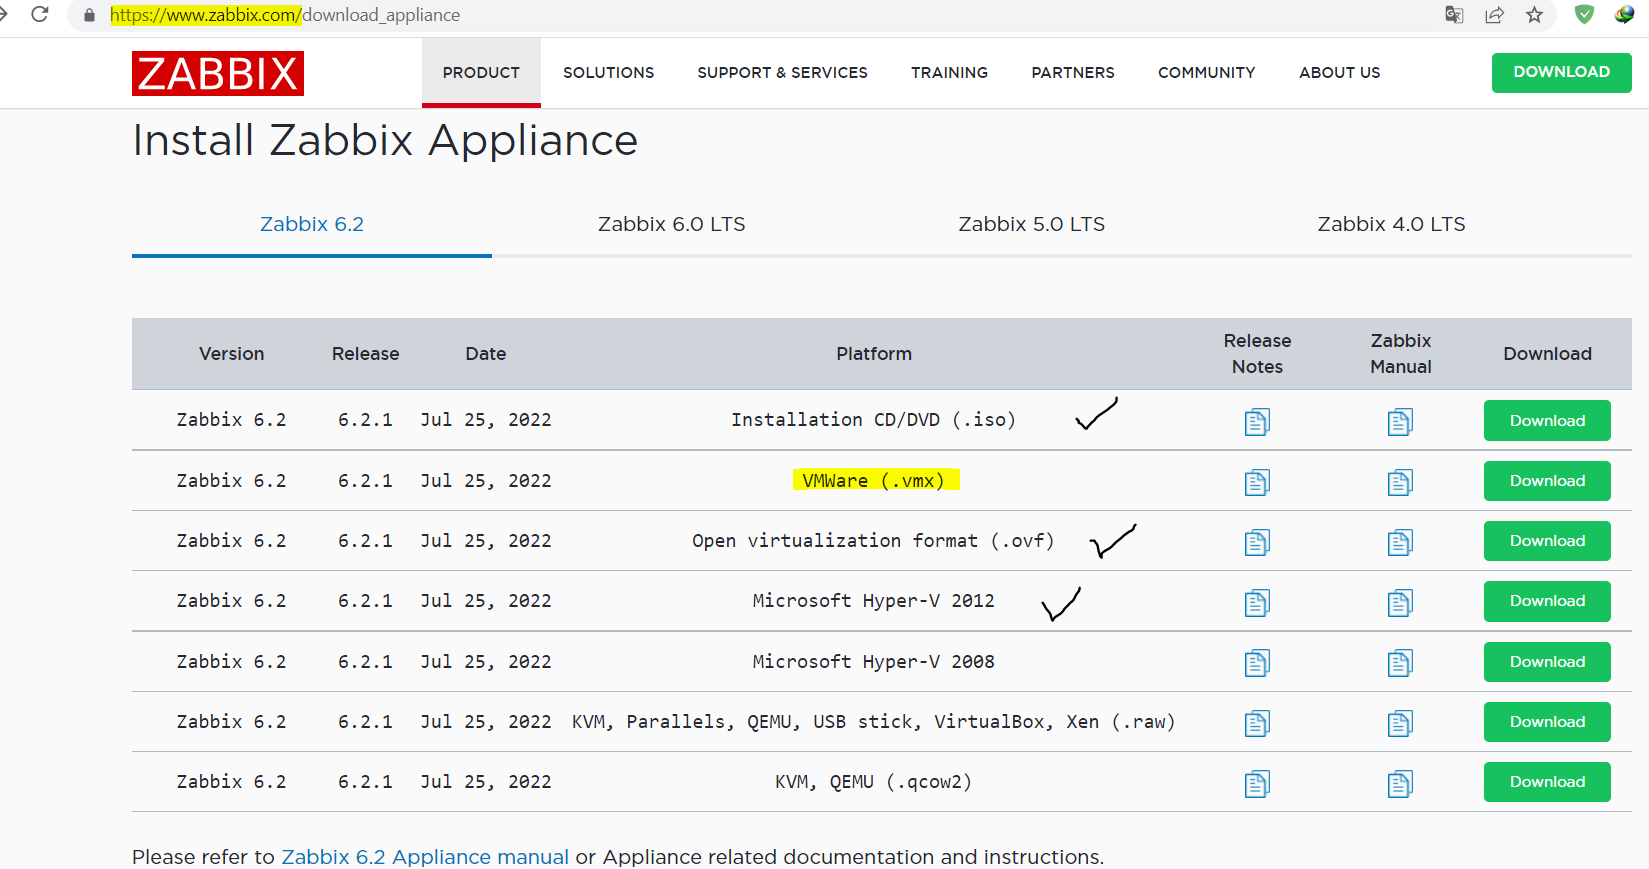
https://www.zabbix.com/download_appliance (VMWare (.vmx) or all of them download)
The latest version of Appliance is based on CentOS 8 Stream with MySQL back-end. Zabbix software is pre-installed and pre-configured for trouble free deployment. You can use this Appliance by importing it into your virtual environment.

The appliance is based on AlmaLinux 8 Zabbix supports monitoring using SNMP, TCP, and ICMP inspections, as well as IPMI, JMX, SSH, Telnet, and custom variables as an alternative to installing on hosts. Zabbix supports many real-time notification mechanisms such as XMPP.
Released under the rules of the GNU General Public License version 2, Zabbix is free software.
Zabbix version check Command:
zabbix_server --version
zabbix_server -V
Zabbix configuration
The following passwords will be set by default in the Zabbix appliance device installation.
System: root:zabbix
Zabbix hompage frontend: Admin:zabbix
Database:
root:<random>
zabbix:<random>
NOTE: Database passwords are randomly generated during the installation process.
Root password is stored inside the /root/.my.cnf file. It is not required to input a password under the "root" account. To change the database user password, changes have to be made in the following locations:
MySQL;
/etc/zabbix/zabbix_server.conf;
/etc/zabbix/web/zabbix.conf.php.
1.1 Repositories
[zabbix]
name=Zabbix Official Repository - $basearch
baseurl=https://repo.zabbix.com/zabbix/6.2/rhel/8/$basearch/
enabled=1
gpgcheck=1
gpgkey=file:///etc/pki/rpm-gpg/RPM-GPG-KEY-ZABBIX-A14FE591
1.2 Firewall configuration:
The appliance uses iptables firewall with predefined rules:

Opened SSH port (22 TCP);
Opened Zabbix agent (10050 TCP) and Zabbix trapper (10051 TCP) ports;
Opened HTTP (80 TCP) and HTTPS (443 TCP) ports;
Opened SNMP trap port (162 UDP);
Opened outgoing connections to NTP port (53 UDP);
ICMP packets limited to 5 packets per second;
All other incoming connections are dropped.

By default, only the listed ports are open. Modify the "/etc/sysconfig/iptables" file to open additional ports and reload the firewall rules:

systemctl reload iptables
1.3 Using a static IP address:
ip addr show
ip a
#To get the IP address, run
Attention: To get started, boot the appliance and point a browser at the IP the appliance has received over DHCP DHCP must be enabled on the host. To access Zabbix frontend hompage, go to https://<host_ip> (for access from the host’s browser bridged mode should be enabled in the VM network settings).
By default the appliance uses DHCP to obtain the IP address. To specify a static IP address setting:
#Open: /etc/sysconfig/network-scripts/
#Edit File: ifcfg-eth0 file;
#Finally network restart:
systemctl restart network

DEVICE="eth0"
BOOTPROTO=static
NM_CONTROLLED="no"
PERSISTENT_DHCLIENT=1
ONBOOT="yes"
TYPE=Ethernet
DEFROUTE=yes
PEERDNS=yes
PEERROUTES=yes
IPV4_FAILURE_FATAL=yes
NAME="eth0"
IPADDR=10.5.10.50
NETMASK=255.255.255.0
GATEWAY=10.5.10.1
DNS1=10.5.10.10
DNS2=
By default, access to the frontend is allowed from anywhere.
This can be customized in /etc/nginx/conf.d/zabbix.conf. Nginx has to be restarted after modifying this file. To do so, log in using SSH as root user and execute:
systemctl restart nginx

1.4 Changing time zone:
By default the appliance uses UTC for the system clock. To change the time zone, copy the appropriate file from /usr/share/zoneinfo to /etc/localtime, for example:
cp /usr/share/zoneinfo/Europe/Riga /etc/localtime

Changes to Zabbix configuration
Frontend timezone is set to Europe/Riga (this can be modified in
/etc/php-fpm.d/zabbix.conf;
Upgrading
systemctl list-units zabbix*
#System Services show Systemd services are available

dnf update zabbix*
#The Zabbix appliance packages may be upgraded.
(We will cover the Zabbix server resource injection configuration in another article.)
Umarım faydalı olmuştur. - I hope it was helpful.