Exchange Server 2019 Relay Connector Configuration

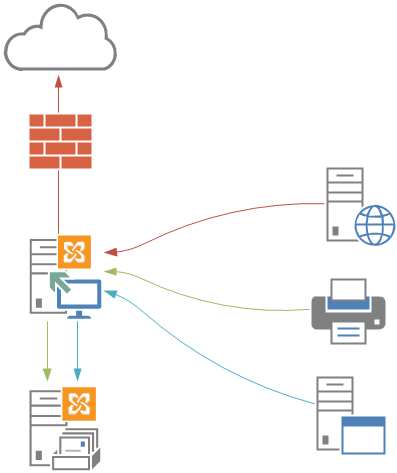
Exchange servers, as it is known, use the SMTP protocol for mail traffic and authentication. It is necessary to give Relay permission on Exchange Server to get information from Printers, Firewalls and Switches, etc. software and hardware that do not have the ability to authenticate for SMTP.
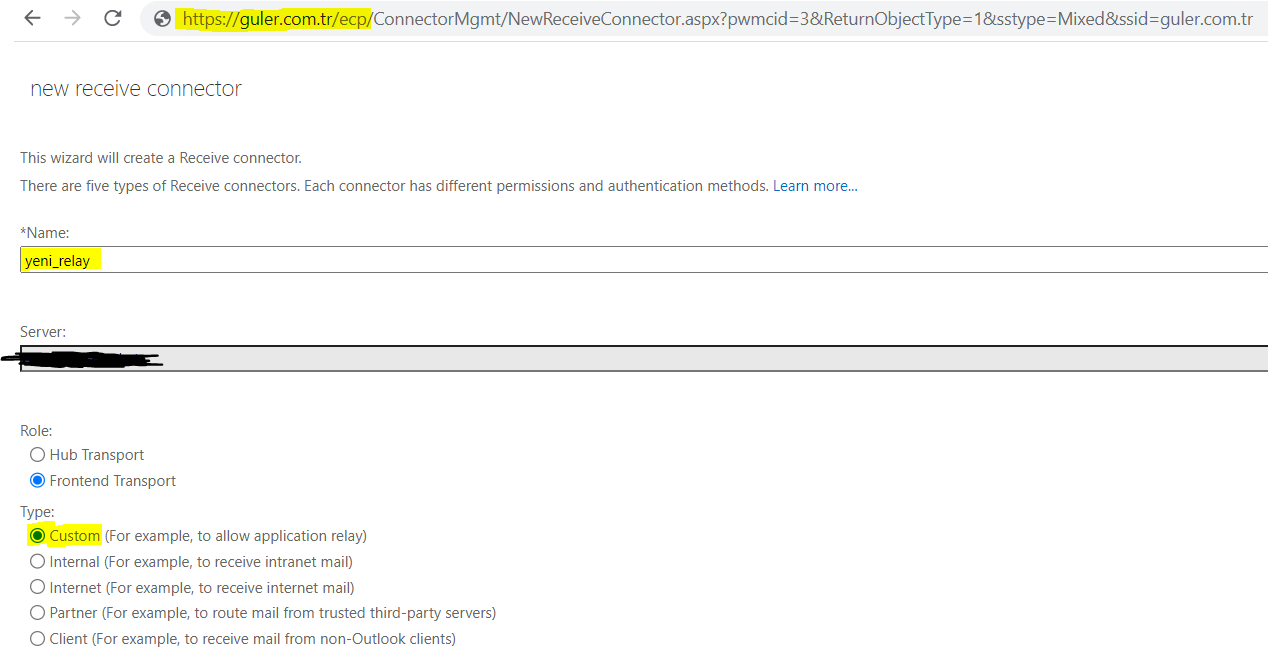
1- To create a new Relay connector, we connect to the ECP screen and create a new connector. We give our connector a new name. We proceed with Frontend in the Role part and Custom in the Type part.
2- It specifies which ip and port the connector we will create will provide access. It comes with 25 ports as standard. I recommend that you change it.
3- We change our default port: 8181 After changing our port, we continue.
4- We determine which IP Addresses will use the connector we created.
5- We choose the Anonymous option from the Security features of the connector we created.
6- We are trying to connect using telnet service through the server we allow to test the connector. Thanks to the connector, we were able to successfully connect to our mail server.
7- We can perform all the operations we do in one go with the help of the following Powershell ISE command.

New-ReceiveConnector -Name Printer -TransportRole Frontend -Custom -Bindings 0.0.0.0:8181 -RemoteIPRanges 10.5.10.45 -PermissionGroups AnonymousUsers
8- If we have more than one server and we want to create a connector on a particular server, you can apply the following command.
New-ReceiveConnector -Name Printer -TransportRole Frontend -Custom -Bindings 0.0.0.0:8181 -RemoteIPRanges 10.5.10.45 -PermissionGroups AnonymousUsers -Server ExcGuler
9- That was the action. If we want to get information about our current connectors, you can use the command below. In the command below, we list our connectors using port 8181.
Get-ReceiveConnector | where {$_.Bindings -like '*8181'} | Format-List Identity,RemoteIPRanges,PermissionGroups,AuthMechanism Saygılarımla. – Best regards.