How To Install Zabbix Agent on Ubuntu 22.04.1 LTS

Step 1 - Install Zabbix repository
wget https://repo.zabbix.com/zabbix/6.2/ubuntu/pool/main/z/zabbix-release/zabbix-release_6.2-4%2Bubuntu22.04_all.deb
dpkg -i zabbix-release_6.2-4+ubuntu22.04_all.deb
Step 2 – Install Zabbix Agent on Ubuntu
sudo apt update
sudo apt install zabbix-agent
Step 3 –Edit Zabbix agent configuration file
sudo nano /etc/zabbix/zabbix_agentd.conf

##########################################
#Server=[zabbix server ip]
#Hostname=[Hostname of client system ]

Server=10.5.10.83
Hostname=zabbix-node.guler.com
Step 4 - Zabbix-agent listens on port 10050 by default. Verify this:
sudo netstat -pnltu
Step 5 - If you have ufw Firewall enabling
#Allow port 10050 on the firewall. This is used by Zabbix agent daemon.
sudo ufw allow 10050/tcp
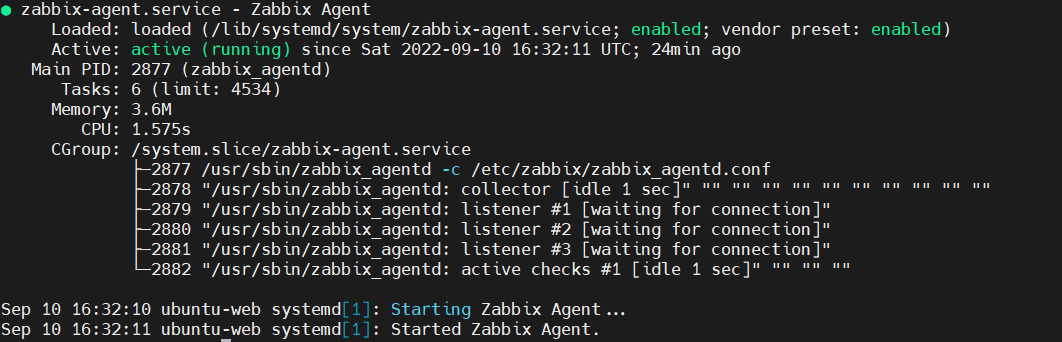
Step 6 – "Finally" Manage Zabbix Service
sudo systemctl restart zabbix-agent
sudo systemctl enable zabbix-agent
#sudo systemctl stop zabbix-agent
sudo systemctl status zabbix-agent
Saygılarımla. – Best Regards.
This post is licensed under CC BY 4.0 by the author.